Nowadays, everyone wants to make YouTube videos, but most of the time, people don’t know how to make good ones. If you are planning on making YouTube videos in the near future, here are a few tips on how to use the right lighting and equipment. In particular, this article will teach you the 3 point lighting technique.
Contents
Look More Professional with the Right Lighting for Your YouTube Videos
Lighting helps enhance the quality of your video and elevate it to a professional standard. Therefore, your lighting and equipment should be right. The best type of lighting is natural light, but if you don’t have it, lamps can create the same aesthetic. To create a flat and softer tone for your video, position your light 45 degrees from your face. It causes your face to look more natural and less dramatic.
You can also try balancing two light sources on either side of the camera to create a more editorial look. Overall, lighting is one of the most important assets for creating a professional-looking video, so you should make sure your lighting doesn’t look amateurish. For more advice on how to create the best lighting, check out this video.
The Three-Point Lighting Setup
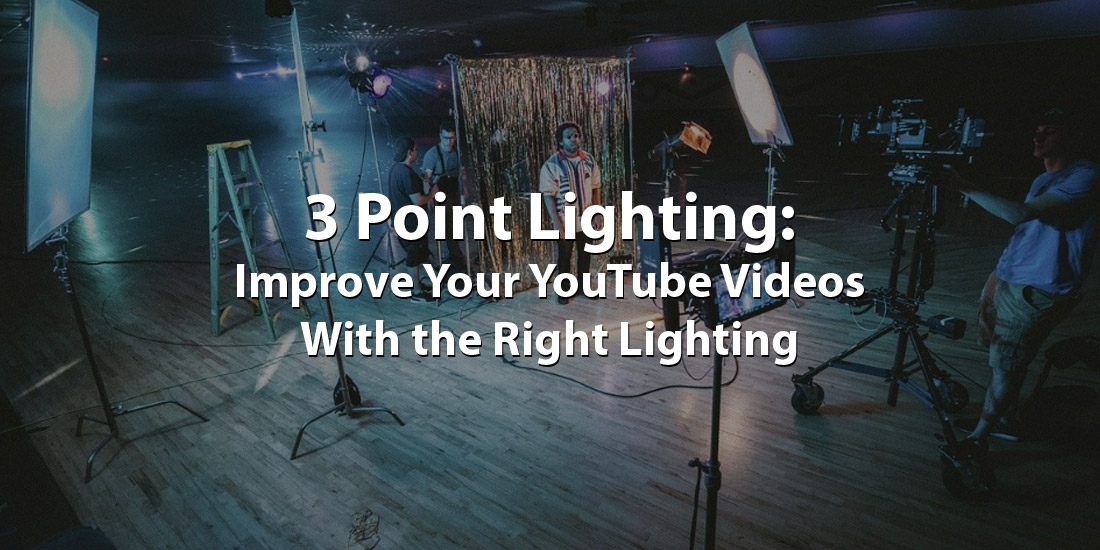
Many professional vloggers and even movie producers use the three-point setup to create high-quality lighting. Basically the three-point lighting setup is when a backlight (rim light or hair light) is used for the third light for your video lighting setup.
The purpose of this setup is to offset the flattening of dimensions caused by your key (first and primary light) and fill light (your supplementary light which helps eliminate shadows). It approaches from behind your subject, often at an angle on the same side as your primary light point. This technique helps create high-quality lighting like many movies and celebrity videos. For more information, check out this video.
This is just one technique on how to make your lighting look more professional, check out this article on different lighting for YouTube videos for more suggestions.
Improve Video Composition with Rule of Thirds
 What many beginners don’t realize is that good videography involves more than just having expensive equipment. It often requires a long and complex process. It takes time to arrange your video into a compelling story that looks aesthetically pleasing.
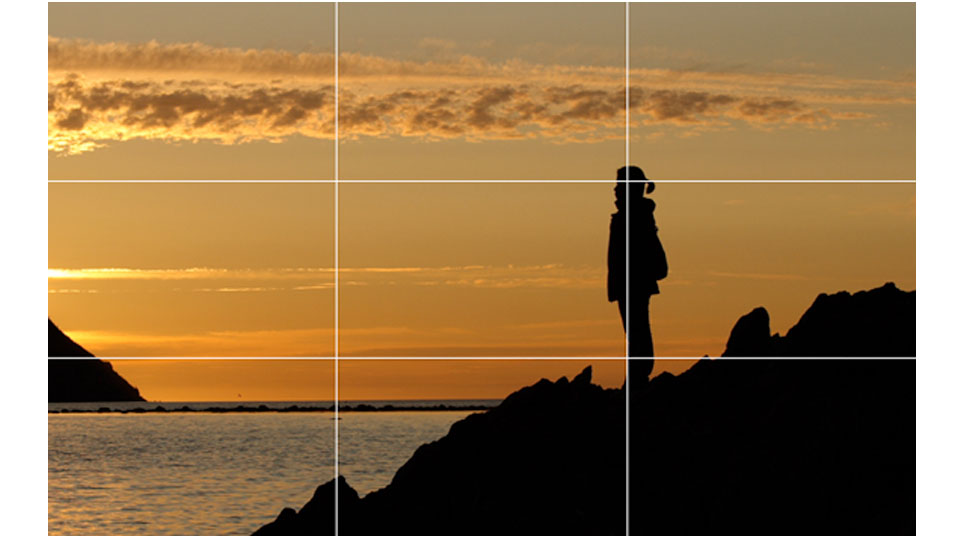
One of the best ways to improve your composition is by using the Rule of Thirds. In regards to YouTube videos, putting the subject on the imaginary 3-by-3 grid helps capture the audience’s attention. A viewer’s eye will automatically gravitate towards subjects in line with the two vertical lines. Whenever you are creating a video, you have to think about the composition to enhance the quality.
Phone Camera Settings to Set a Grid for Rule of Thirds
Your phone is just as good quality as some fancy cameras, so you should fully utilize your phone’s abilities. To enhance the quality of your video, you should put your phone on landscape mode. If your phone has a grid feature, use it. For an iPhone, you can turn on the grid by going to Settings > Photos & Camera > Grid.
Lighting is one of the first steps in creating the best YouTube videos; if you want to improve your videos, even more, click here for more tips.