
In our previous article, we discussed the six different types of promoted pin campaigns on Pinterest. In this article, we’ll explore how to advertise on Pinterest. Advertising on Pinterest involves meeting certain requirements and making careful decisions about your advertising campaign. By the end of this article, you will be able to set up your advertising campaign and start boosting your business.
Contents
The Requirements for Pinterest Advertising
In order to begin advertising on Pinterest, your account and pins must meet the following requirements:
Account Requirements
- Have a business account: You can either convert an existing Pinterest account to a business account or create a new business account. Both options are free of charge.
- Have installed the Pinterest tag on your website: Once installed, the Pinterest tag enables you to track user’s actions on your website. This includes actions such as searches, signups, and checkouts.
- Have confirmed your website: Claiming your website allows you to gain access to Pinterest’s analytics. In order to do this, you’ll need to add either a Meta tag or an HTML file to your website. You can only claim one website per Pinterest account.
Promoted Pin Requirements
- Saved to your business account profile
- Saved to a public board
- Have a destination URL
- No link shorteners in the URL or pin description
- No third-party videos or GIFs
- Must follow Pinterest’s Ad Standards
- Have a 2:3 (1000 x 1500 pixel) Aspect Ratio
How to Advertise on Pinterest: Part 1 Creating Your Campaign
Step 1: Choose Your Campaign Objective
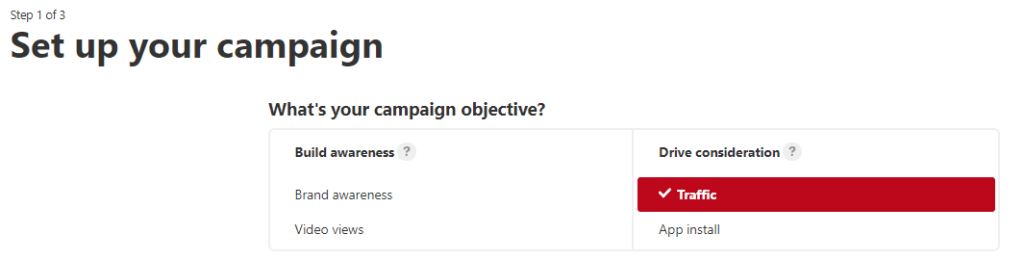
The first step of advertising on Pinterest is to choose your campaign objective. There are six different campaign objectives for promoted pins. These objectives are App Installs, Brand Awareness, Catalog Sales, Conversions, Traffic, and Video Views. For an in-depth explanation of these campaign objectives, please see our previous article.
Step 2: Choose Your Campaign Budget
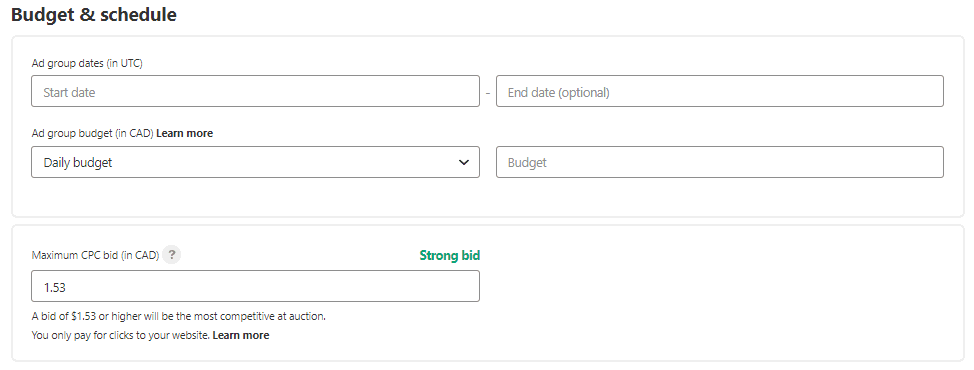 After you have selected a campaign objective, it’s time to add your campaign name and set a daily or lifetime spend limit. You will also set a bid amount for the price you are willing to pay per click. You should begin your bidding high at the start of your campaign. By doing so, you increase the chances of having a better click-through rate. Finally, set the start and end dates for your campaign.
Step 3: Create An Ad Group
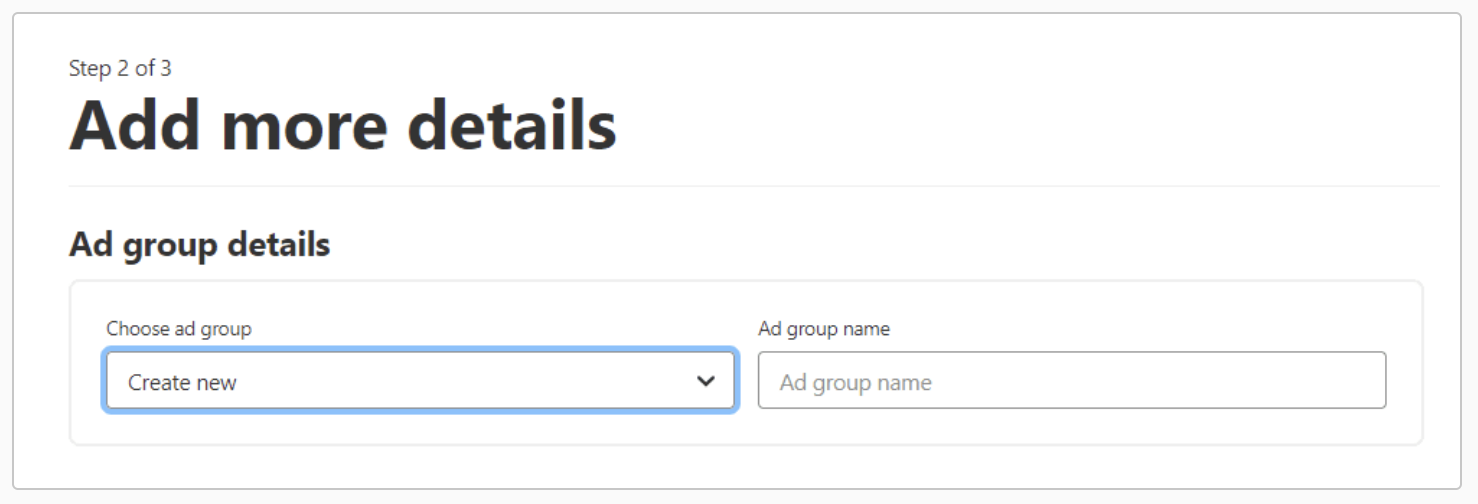
Once you have chosen your campaign budget it is time to create an ad group. An ad group organizes your promoted pins. You can create multiple ad groups with different targeted audiences. Aim to have between two to four promoted pins per ad group.
How to Advertise on Pinterest: Part 2 Creating Your Pins
Step 4: Add Interests and Keywords
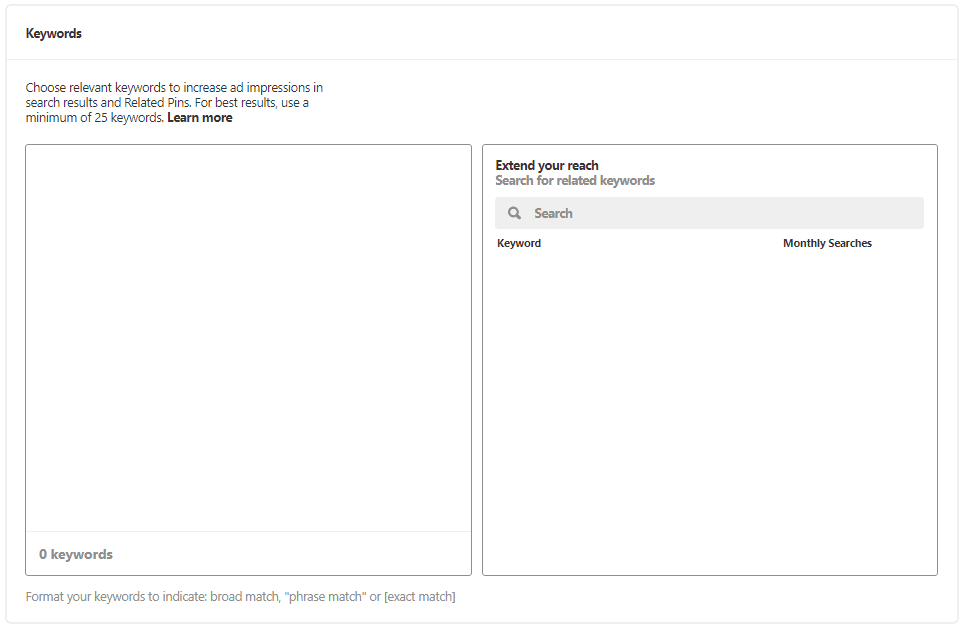
Pinterest promoted pins use interests and keywords to help your ads appear in relevant searches. Interests enable you to advertise your promoted pins to users based on what they like. Keywords can be set up to match broad matches, phrase matches, and exact matches. Negative keywords can also be used to prevent certain searches from triggering your ads.
Step 5: Choose Your Target Audience
Just like keywords, targeting your audience helps get your pins in front of the right people. On Pinterest, you can target users by location, device, interests, keywords, and gender. In some cases, such as when you are running a traffic campaign or brand awareness campaign, you may need to target a broad audience to prevent a low click-through rate.
Step 6: Select Ad Placement
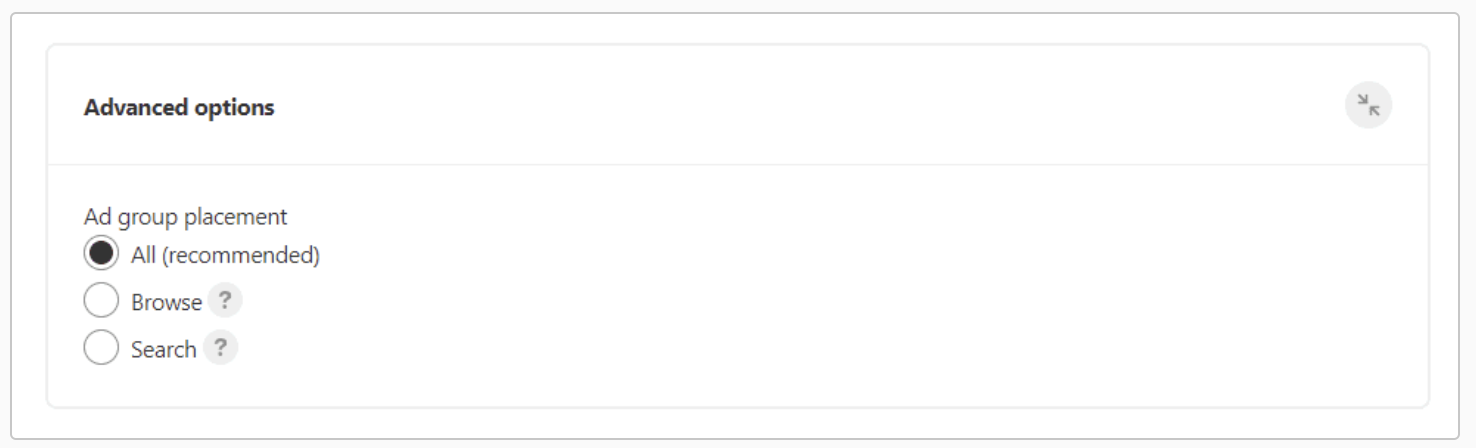
If you have the budget for it, go with all ad placements by default. If not, there are two areas you should target: browse and search. Browse placement ads appear in the home feed and related pins. Search placement ads appear in users’ searches.
Step 7: Determine Your Pacing
There are two pacing options for your Pinterest campaign: standard and accelerated. Standard pacing matches your bid with your total budget and campaign length. Accelerated pacing is useful for high publicity campaigns. Please note: accelerated pacing may drain your budget before the end date of your campaign.
Step 8: Pick Your Promoted Pins
Now that you’ve completed the previous requirements, it’s time to select your pins. You can create new pins or select pins you’ve already created. Aim to have between two to four pins per ad group. Assign each pin a name and URL. The URL should relate to the photo. Users who are interested in your pin want to be directed to relevant content. When you are finished, click the Launch button to begin your campaign.
Your Next Steps
After you click Launch, your pins will be reviewed to make sure they follow Pinterest’s guidelines. If you have time-sensitive material, ensure that you budget enough time for this process. Once Pinterest approves your pins, you can begin monitoring your campaign’s performance. You can monitor metrics such as impressions, repins, click-through rates, and total spending. It is recommended that you allow a campaign to run for at least two weeks before deciding whether or not your campaign is successful.